Building a Moss Path in a Wet UK Climate: Drainage, Base and Aftercare
October 07, 2026 - Garden Paths

A north-facing border is often the first part of a garden to be given up on. The soil stays cold and wet from October through to spring, the light is thin, and anything planted there leans sideways towards the sun. Moss reads those conditions as close to perfect.
What follows is a working checklist for the whole job: reading the site, preparing the soil, choosing moss that will spread, and planting it so it knits together rather than washing away in the first heavy rain. Aim for autumn or early spring, when the ground is damp and the moss is growing.
Spend a winter watching the border before you buy or lift anything. Ten minutes a week will tell you more than general advice, because north-facing borders vary enormously: one may be dry shade under a wall, another a bog for half the year. A border beneath a north wall in a windy town is a different habitat from one under a mature hedge, where roots and leaf litter dominate.
Take photographs through the year and mark the wettest and driest patches with canes. This low-tech map will guide where you put each moss species later.
Moss has no roots. It grips a surface, takes water through its leaves and asks for very little else. What it does not want is fertility, because rich soil grows coarse grass, buttercups and willowherb that will swamp it within a season.
Skip the compost, manure and fertiliser. If the soil is thin over rubble, a light scattering of sieved leaf mould helps it hold moisture, but keep it lean. On heavy clay, work grit into the top few centimetres rather than digging deeply.
Moss is a surface plant. If the soil feels like a firm seedbed and you can still see its texture between your fingers, you are close to the right finish.
There is no single moss for a north-facing border. Match species to how wet the ground actually is, and accept that a wet corner will grow different moss from the dry strip under the eaves.
If you are unsure, buy a mixed tray from a specialist grower and let the site select the winners. The mosses that thrive in your first year are the ones to propagate for the rest of the border.
Moss is usually sold as plugs, trays or fragments. The goal is not to plant a neat grid, but to press moss firmly onto prepared ground so it can spread by itself. Work on a damp, cool day if you can.
For large areas, a moss slurry can be useful. Blend healthy moss with water and a little buttermilk or plain yoghurt, paint it onto damp, roughened soil, and keep it misted. It is slower and less predictable than plugs, but it can cover an awkward bank cheaply.
Do not walk on newly planted moss. Lay a plank across the border if you need to reach the back, and remove it as soon as you are finished.
Moss needs less care than most garden plants, but the first year decides whether it knits together or breaks into isolated patches. Keep the surface damp, especially during any dry spells in spring and early summer.
By the second autumn, a healthy moss carpet should need little more than occasional weeding and a tidy-up after leaf fall. If bare patches appear, press in fresh fragments from the edges and keep them damp until they root.
North-facing borders are not a compromise. Treated as a damp shade garden rather than a failed sunny one, they can become the calmest, most greenly textured part of the garden — and moss is the plant that makes that shift possible.
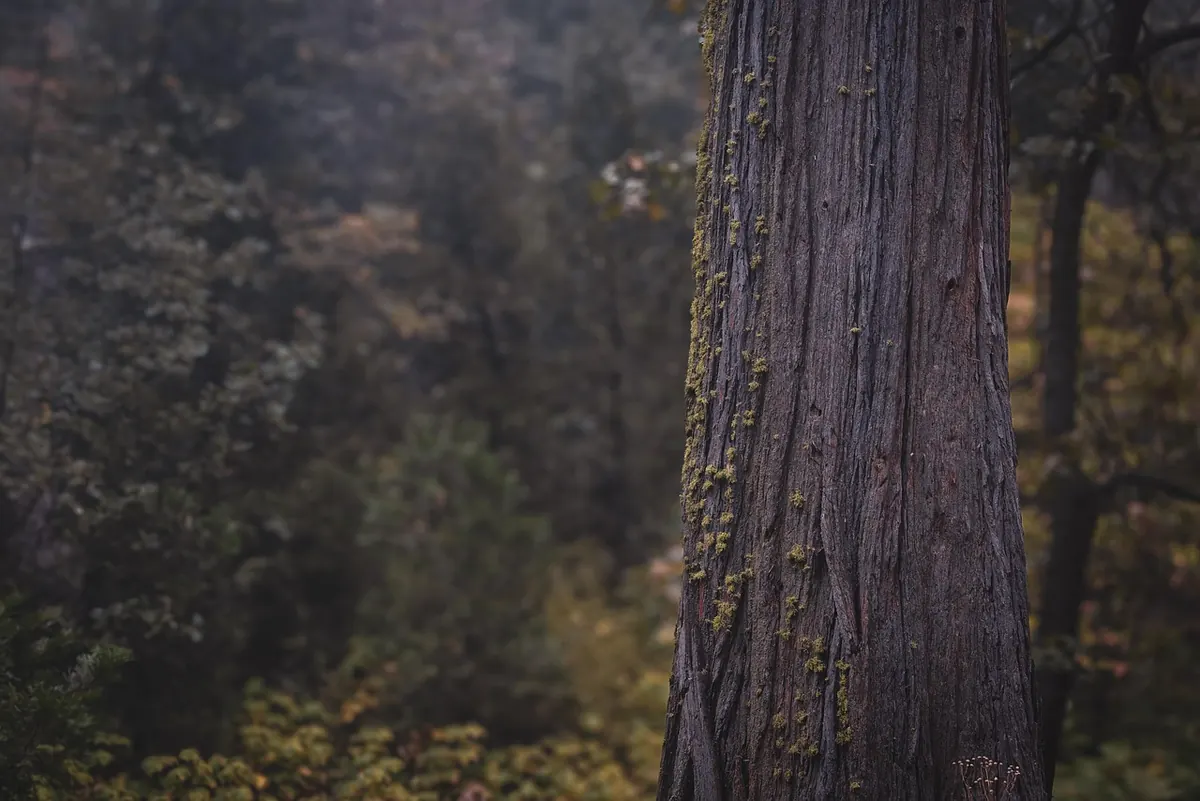
Photo: 16081684 / Pixabay

How to build a moss path that survives British rain: the right base layers, sensible drainage, suitable moss species...
Brown moss in a UK summer is usually dormancy, not death. Here's how drought, heat and sudden light cause it, and...
Copyright © 2026 Moss Path. All Right Reserved.